Yummy Traditional : Breakfast Page Not Found - Yummy Traditional
Showing posts with label Breakfast. Show all posts

Stuffed Mince Burger Recipe


stuffed-mince-bun-recipe

Stuffed Mince Burgers || Stuffed Mince Bun || How to Make Stuffed Mince Burger with Step-by-Step photos 


Stuffed Mince Burgers make a wonderful snack and go
Well, with a cup of coffee/tea, try them, you would love them. Mince stuffed bun is also the most popular snack/breakfast all over the world. Homemade mince stuffed buns are very soft and tasty, and can be given in kids' tiffin boxes, a healthy and delicious lunch for kids. 
                            
mince-bun-burger-recipe


I am using in this bun beef keema/mince. You can use lamb, chicken, or mutton mince as desired. The filling of the bun is quite similar to samosa stuffing, but in this post, I will tell you again the recipe of filling because I brought some changes in the bun filling by using another seasoning, so let’s begin. 

If you have tried this Stuffed Mince Burger Recipe, then don’t forget to rate the recipe. You can also follow me on social media to see what’s latest in my kitchen!  

Facebook 

Instagram

Pinterest

Youtube


Like Our Videos? Then, follow and subscribe to us on YouTube to get the latest Recipe Video updates.


mince-bun-burger


Firstly, in a large bowl, sieve the maida/plain flour
Make 2 wells in the center of the flour, then add all ingredients
Mix and rub them with both palms till turn to crumble
Start kneading the soft dough by adding lukewarm water little by little till the dough is formed

Now add oil/butter and keep kneading for 5-10 minutes
The dough should be soft and smooth. Cover it with the cling wrap, keep it in a warm place, and let it double in size. It may take around 2-3 hours maximum. Meanwhile, you prepare the mince filling for stuffing.

kneading-dough-for-buns


In a frying pan, add cumin seeds and dry roast them slightly on a low flame, then add pomegranate seeds and dry roast both of them together for 10 seconds. Then add coriander seeds and fennel.
Now, dry roast them all together for about 2 minutes on a low flame

Turn off the flame, take them out into the plate, and grind all dry roasted whole spices coarsely. Then add powdered spices.
Grind them once again for a minute, don’t need to grind them too much. Mix them together, and keep them aside.
  
dry-roast-whole-spices


On the other hand, take a separate pan and pour oil to heat it
Then add chopped onion and fry them for 2 minutes, then add the mince, stir to mix them, and keep on stirring until the keema water dries out. Now add ground spices and yogurt to it, stir to combine well on low flame until water dries out, meanwhile heat the charcoal on the high flame. Then add coriander, mint, green chilies, and grated ginger. Mix it well

Place the small steel/aluminum bowl in the middle of the keema mixture, then drop some ghee/butter over the charcoal and cover it for a while. Charcoal smoke gives it the smoky flavor.

cook-buns-for-stuffing-buns


Take them out into a bowl, let them cool down completely, and set them aside.


let-keema-cool-down


After 2-3 hours, once the dough has risen well, punch down the air and knead for 2-3 min, divide into equal balls.


make-equal-balls-of-the-dough

Flatten each ball on your palm and place the mince stuffing. Cover to form a ball, and pinch the seam side down.


place-keema-filling


Cover with a damp cloth and let it rise for 30 minutes or till it's doubled in volume. Meanwhile, turn on the oven and preheat it to 230 C for 30 minutes.

let-buns-rise


Brush the top with egg and milk wash and sprinkle sesame seeds.

brush-wash-on-buns

Grease the baking tray or line it with butter paper and transfer all buns to the baking tray. Bake buns in the preheated oven at 200 C for 20-25 minutes or until nicely golden brown color.


bake-buns


Right after taking it out of the oven, apply butter well on the whole buns and let them rest covered with a cloth for 2-3 min to soften the buns completely.

stuffed-buns-are-ready

Serve hot with coffee/tea.

serve-hot-with-tea-coffee


Crispy Puri Paratha Recipe

puri-paratha-recipe-with-step-by-step-photos


Crispy Puri Paratha | Puri Paratha || How to make Puri Paratha with step-by-step photos

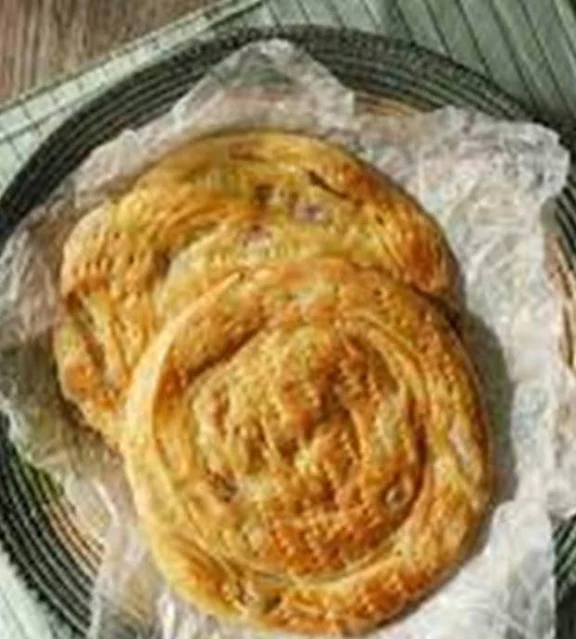
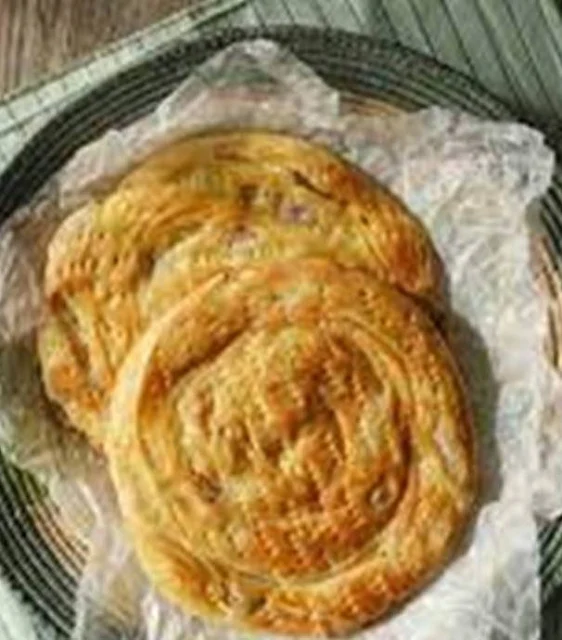
Puri Paratha is a layered, traditional, and crispy deep-fried flatbread, made with a few ingredients: plain flour, ghee, semolina, and salt. This puri paratha is one of the most popular recipes in Pakistan. This puri paratha is easily available at roadside restaurants and restaurants across Pakistan.

This recipe is prepared in two ways. Firstly, knead the soft dough and rest it for at least 2 hours. Then roll it out and apply ghee paste inside the roti and fold it like a paratha, and then again rest it by applying oil over the dough balls to make them crispy and crunchy.


Finally, deep fry them like apuri. This recipe is a combination of paratha and puri. This is the reason it is called Puri Paratha

Here, I used some semolina to make crunchy paratha, but if you don’t like crispiness in paratha puri, you can skip the semolina from the recipe. Poori paratha is usually served with Barbecue items. Well, this puri paratha goes well with tea or an omelette. Personally, I love to have it with tea_ This delightful Main Course recipe of Puri Paratha can be ready in approximately 30 minutes and is good to serve around 2-4 People.
More Fried Recipes:
Plain kachori
Dal kachori
Gol gappy

If you have tried this Puri Paratha Recipe, don’t forget to rate the recipe. You can also follow me on social media to see what’s latest in my kitchen!

Facebook 

Instagram

Pinterest

Youtube


Like Our Videos? ,n do follow and subscribe to us on YouTube to get the latest Recipe Video updates.


puri-paratha


In a large mixing bowl, sift the flour, then add semolina, ghee, and salt. Mixx thetogether. Rub the flour with semolina and ghee until it turns to crumble.
                     
add-semolina-and-ghee-to-the-flour


Now start kneading the dough by adding water little by little to a soft dough.

              
start-kneading-by-adding-water-little-by-little


Apply a little oil over the dough and leave it to rest for around 2 hours.

                  
apply-oil-over-the-dough

Cover the dough with plastic cling wrap or a kitchen napkin.
            
cover-the-dough


Meanwhile, in a small bowl, take plain flour and ghee.

                  
add-flour-and-ghee-together


Mix them together very well and set them aside.
             
                     
mix-flour-and-ghee-together


Punch the dough down and apply some oil to the dough. Make 4 equal balls out of the dough.


punch-the-dough-again


Give it a dough ball shape and place it on a tray/plate.

                   
give-it-to-ball-shape


Spread some oil on the working surface, take a dough ball and roll the thin roti around 10-12 inches in a round shape. Apply the prepared ghee paste on it.

                    
roll-out-the-thin-roti

Roll it like a rope, and then again apply the paste over the rope, and then fold it like a snail, pressing the end gently in the middle. Slightly press the paratha ball, and place it on a tray or plate.


Repeat all the processes with the remaining dough balls, prepare all paratha balls,s and place them on a tray. Aga, apply some oil over prepared puri balls and let them rest for around 20 minutes.

              
prepare-all-paratha-balls


Take a prepared paratha dough and roll it into a round shape, 6- 7 inches in size.


roll-out-the-puri-paratha


Meantime heat the oil or ghee in the wok.

              
heat-the-oil-in-the-wok


Slide a puri paratha in hot oil and fry one side for 2 minutes on medium-high heat. Flip the puri and keep frying until a light golden colour. Transfer to the brown paper or kitchen paper to remove excess oil.
                     
fry-the-puri-paratha


Puri paratha is cut into four pieces. 

              
keep-frying-paratha-until-golden-brown


Now transfer to the serving plate.

               
transfer-to-the-serving-plate


And serve with teakababs, or barbecue items. 


Cake Rusk Recipe

 cake-rusk-recipe-with-step-by-step-photos


Cake Rusk || Dry Cake Rusk || How to Make Cake Rusk Recipe with step-by-step photos.

Cake Rusks are the favorite tea-time snack across Pakistan; dipping the crispy rusk in tea is something many of us would have done when we were kids and still continue to do so
Making the batter is super easy because it only involves a few basic ingredients.

However, it’s the baking time that might test your patience. Make this rusk at home, for they taste so wonderful that you will never ever buy them from the store again.
                  
cake-rusk-recipe


What is Cake Rusk Made of?
Ever wondered what cake rusk is made of? It’s made from a simple yellow cake that is baked twice. I love to eat cake rusk with my hot tea, and when I get leisure time, I keep it by making it in an airtight jar-easily it stays fresh for around 2-3 weeks. Eid is also forthcoming, so you can also add it to your Eid menu with sheer khurma or Shami kababs.

For more Similar Recipes:

If you have tried this Cake Rusk Recipe, don’t forget to rate the recipe. You can also follow me on social media to see what’s latest in my kitchen!

Facebook

Instagram

Pinterest

Youtube                     


Like Our Videos? Then follow and subscribe to us on YouTube to get the latest Recipe Video updates.


cake-rusk

Tips:
When baking rusks for the second time, keep a close watch on them. They typically take between 10 and 15 minutes to bake. Be cautious after the 10-minute mark, as they can burn easily. If you notice they are becoming very dark brown or black, remove them from the oven immediately and flip them over to bake the other side.

To store the rusks, keep them in an airtight container. They should remain fresh for up to three weeks.

                                     
cake-rusk-recipe


To make this recipe, first melt the butter with the milk on the stove or double boiler_Let it cool down completely. 


Meanwhile, sift the flour with baking powder, salt, and yellow food color, and mix well. Preheat the oven to 180 C 
                         
sift-the-flour-with-baking-powder


Grease the cake pan and line the paper. 
                          
grease-the-pan-and-line

                     
Crack the eggs into the bowl and beat them for a minute with an electric beater, then add sugar; start beating together.
                       
beating-the-egg

                    
Beat them on high speed until creamy. Then pour the milk mixture into the egg batter.
                       
beat-egg-on-high-speed


Further, beat them together for 2-3 minutes on low speed. Lastly, add vanilla essence and stir till it is incorporated fully into the batter.
                
beat-them-on-low-speed


Add sifted flour gradually to the egg batter and slowly mix them with the hand whisker. Don’t use an electrical beater for mixing.
             
add-flour-to-the-batter


The cake batter is ready. 
                      
cake-batter-is-ready


Pour the mixture into an 8*8 square cake pan.

                                                     
pour-the-mixture-into-the-pan
     

Bake the cake at 180 C for 40-45 minutes.
                          
bake-the-cake


Separate the edges of the cake from the cake pan. 
                          
separate-the-edges-of-cake


Allow it to cool for 10 minutes on a wire rack.
                              
cool-the-cake-on-wire-rack


Once the cake cools down,  cut the cake vertically. 
                           
cut-the-cake


And shape into medium-sized strips.
                     
shape-into-medium-size-strips


Arrange the cake strips on the baking tray, leaving some space between them. Now leave them in an open place for 12 hours. 
                      
arrange-the-cake-strips


We will now bake the cake rusk again after 12 hours
Preheat the oven to 160 C. Put the tray into the oven and bake for 15 minutes or until golden brown
                     
bake-again-cake-strips


Each side should appear golden brown after the 2nd bake. Allow the cake rusks to cool completely.
                         
cake-rusk-is-done


Once cooled, the rusks will be crunchy and crispy. Store them in an airtight container.
                          
cake-rusk-gets-cool


Enjoy the cake rusks with a hot cup of tea.    
                        
serve-cake-rusk-with-tea

Followers

Copyright © 2015 Yummy Traditional